Welcome to the captivating realm of DIY cannabis cultivation, brought to you by ELEVATE ADK! Whether you’re an experienced gardener or a curious novice, getting into the art of growing cannabis at home promises a journey filled with satisfaction and discovery. In this comprehensive guide, we embark on a meticulous step-by-step exploration. We unravel the intricacies of nurturing your very own cannabis plants – from their humble seeds to the bountiful harvest that awaits. Join us on this green journey as we elevate your cultivation experience to new heights.
Before you begin your journey into cannabis cultivation, it’s crucial to gather all the necessary supplies. Here’s a detailed list of what you’ll need:
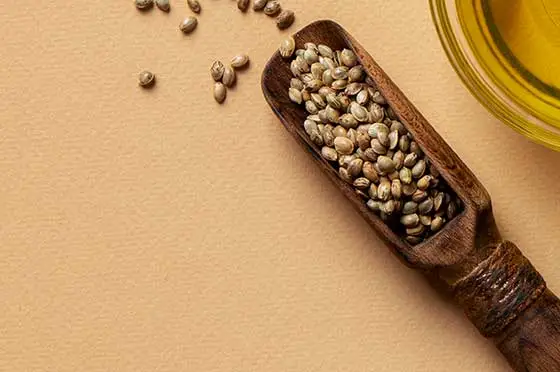
Start with high-quality cannabis seeds from a reputable source. Choose a strain that suits your preferences and growing environment.
Decide whether you’ll be growing your cannabis plants in soil or a hydroponic setup. Soil is more forgiving for beginners, while hydroponics can produce faster growth and higher yields but requires more attention to detail.
Select containers or pots for your plants that provide adequate drainage and room for root growth. Consider fabric pots for better aeration and root development.
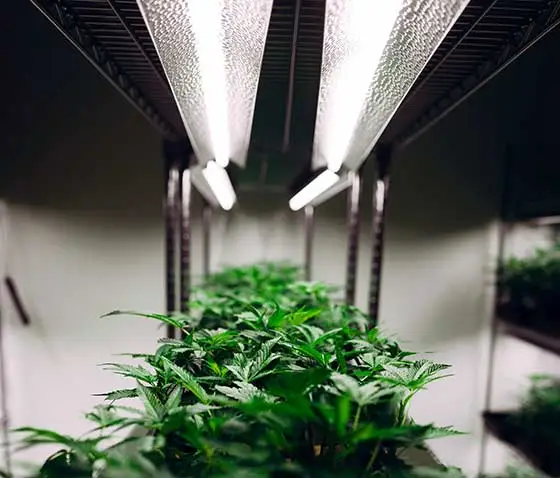
Invest in suitable grow lights to provide your cannabis plants with the necessary light spectrum for photosynthesis. LED grow lights are energy-efficient and suited for indoor cannabis cultivation.
Ensure proper air circulation in your growing space by installing a ventilation system. It helps prevent mold, mildew, and pest infestations while promoting healthy plant growth.
Cannabis plants require essential nutrients like nitrogen, phosphorus, and potassium to thrive. Purchase a complete set of cannabis-specific nutrients for both vegetative and flowering stages.
Maintain the pH balance of your growing medium within the optimal range (usually between 6.0 and 7.0) to ensure proper nutrient uptake. Invest in a pH testing kit to monitor and adjust pH levels.
Provide your cannabis plants with consistent and adequate watering using a watering can or system. Avoid overwatering, which can lead to root rot, and underwatering, which can stunt growth.
By gathering these essential supplies, you’ll be well-equipped to embark on your cannabis cultivation journey with confidence. Research and plan your grow space thoroughly to create an optimal environment for your plant’s growth and development.
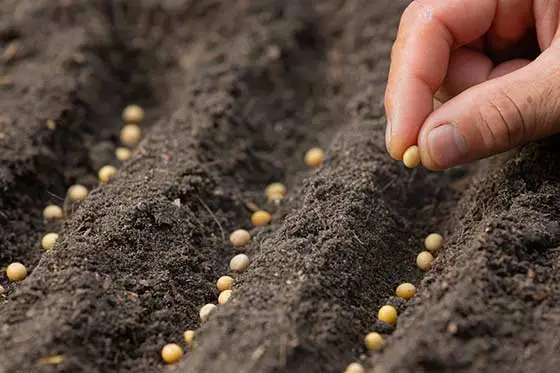
Begin by soaking your cannabis seeds in water for 12-24 hours. Soaking helps kickstart the germination by softening the seed coat and allowing water to penetrate.
Once the seeds are soaked, plant them in a small pot with moist soil. Make sure to plant them at a depth of about 0.5 to 1 inch deep. Cover the seeds with the soil and pat down lightly to ensure good seed-to-soil contact.
With proper conditions, your cannabis seeds should begin to sprout within a few days to a week. Keep a close eye on the pots and continue to provide moisture and warmth (as needed) to support healthy seedling development.
By now, you’ve created an optimal environment to germinate cannabis seeds and set the stage for a successful growth cycle. Remember to be patient and attentive during this crucial stage of the growing process.
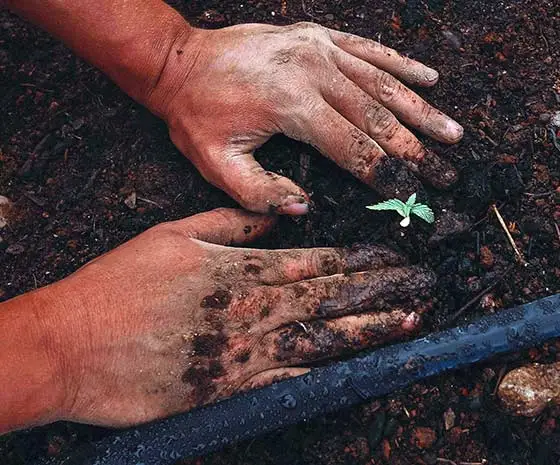
When your cannabis seedlings have developed a few sets of leaves, it’s time to transplant them into larger pots filled with nutrient-rich soil. Ensure the new containers have adequate drainage holes to prevent waterlogging.
During the seedling stage, provide your plants with 18-24 hours of light per day using grow lights. Position the lights close to the seedlings, but adjust the height to prevent heat stress or light burn.
Maintain a consistent environment for your seedlings, with temperatures between 70-85°F (21-29°C) and relative humidity levels between 40-70%. Use a thermometer and hygrometer to monitor these conditions closely.
Water your seedlings when the top inch of soil feels dry. Avoid overwatering because it can lead to root rot and other moisture-related issues. Use a watering can or gentle irrigation system to moisten the soil evenly.
By following these guidelines, you’ll provide your cannabis seedlings with the ideal conditions for healthy growth and development during the crucial early stages of their life cycle. With proper care and attention, your seedlings will thrive and prepare for the next phase of their journey.
Throughout the vegetative stage, maintain the light cycle of 18-24 hours (per day) to stimulate vigorous vegetative growth. Ensure your grow lights provide sufficient intensity and coverage to support healthy development.
As your cannabis plants grow, adjust nutrient levels by their stage of development and the pH level of the soil or growing medium. Monitor soil pH regularly using a testing kit and modify nutrient solutions accordingly to maintain optimal nutrient uptake.
By implementing these practices during the vegetative stage, you’ll provide your cannabis plants with the necessary care and attention to thrive and prepare for the flowering phase. Maintaining optimal growing conditions and addressing any issues will help ensure a successful cultivation journey.
Keep a close eye on your plants for signs of pests or diseases during the vegetative stage. Common cannabis pests include aphids, spider mites, and whiteflies, while diseases like powdery mildew and mold can also pose a threat. Inspect your plants regularly and treat any infestations or infections using organic or chemical control methods.
By implementing these practices during the vegetative stage, you’ll provide your cannabis plants with the necessary care and attention to thrive and prepare for the flowering phase. Maintaining optimal growing conditions and addressing any issues will help ensure a successful cultivation journey.
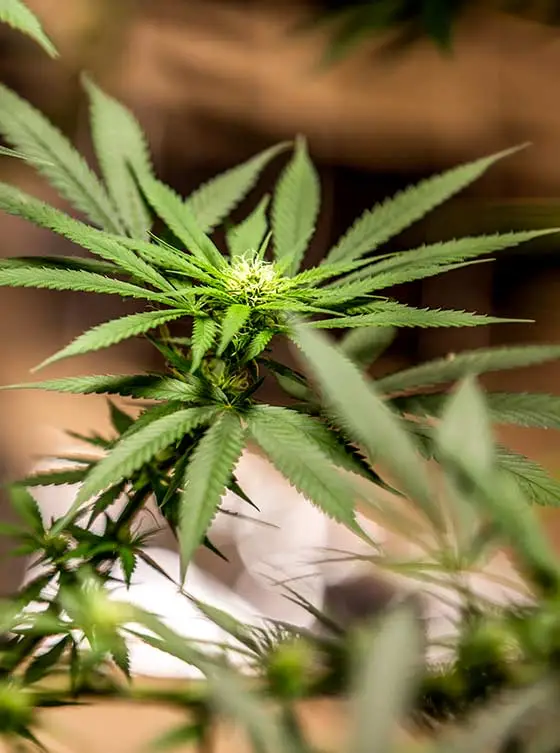
Transition your cannabis plants to a 12/12 light cycle during the flowering stage, providing 12 hours of light followed by 12 hours of uninterrupted darkness each day. This change in the light cycle signals to the plants that it’s time to shift their focus from vegetative growth to flower production.
Adjust nutrient levels to meet the changing demands of your plants during the flowering stage. As your cannabis plants shift their energy towards producing flowers, they’ll require different ratios of nutrients, particularly phosphorus and potassium, to support robust bud development. Monitor nutrient levels closely and adjust your feeding regimen to prevent deficiencies or nutrient imbalances.
Keep an eye on your plants throughout the flowering stage, as they become more susceptible to nutrient deficiencies, pest infestations, and diseases. Inspect your plants regularly for signs of nutrient deficiencies, such as yellowing or browning leaves, and address any issues promptly to ensure healthy flower development. Additionally, monitor for pests such as spider mites, aphids, or thrips, as well as common diseases like powdery mildew or bud rot. Early detection and intervention are the key to minimizing damage and maximizing yield.
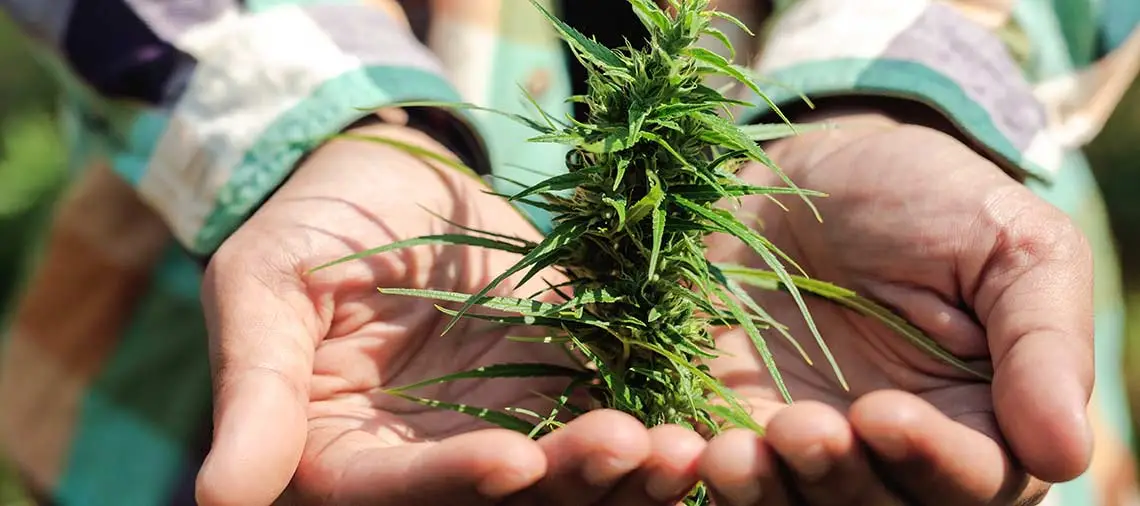
Harvest your cannabis plants when the trichomes, or resin glands, have reached their desired level of maturity. Use a magnifying tool to closely examine the trichomes and look for changes in color and clarity. Mature trichomes will appear cloudy or amber-colored, indicating peak cannabinoid potency. Harvesting at the right time ensures optimal flavor, potency, and overall quality in your final product.
By following these guidelines during the flowering stage, you’ll provide your cannabis plants with the care and attention they need to produce healthy, resinous buds. With proper monitoring and adjustments, you’ll be rewarded with a bountiful harvest of high-quality cannabis flowers to enjoy and share with others.
When your cannabis plants have reached the optimal stage of maturity, it’s time to harvest. Using sharp scissors or pruning shears, carefully cut the plants at the base, ensuring clean cuts to preserve the integrity of the buds. Handle the plants gently to avoid damaging the delicate trichomes, which contain the valuable cannabinoids and terpenes responsible for the plant’s effects and aroma.
After harvesting, hang the plants upside down in a dark, well-ventilated area with low humidity. This drying process allows excess moisture to evaporate gradually, resulting in perfectly cured buds with enhanced flavor and potency. Monitor the drying environment closely to ensure optimal conditions, aiming for a temperature of around 60-70°F and humidity levels between 45-55%. Depending on environmental factors, drying typically takes 5-10 days.
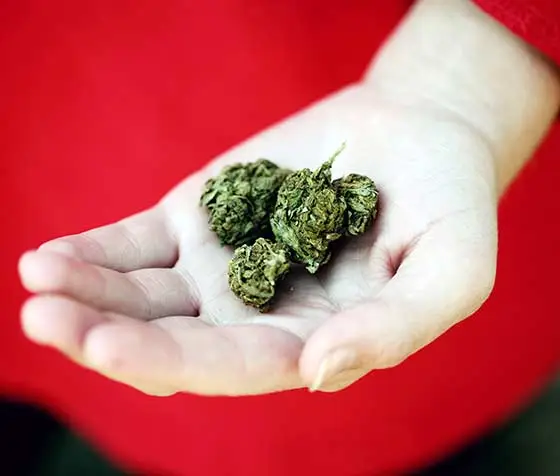
Once the buds are dry and the stems snap easily, it’s time to trim them from the branches and remove any excess leaves or stems. Trim the buds neatly using sharp scissors. Leave behind only the desirable flower material. Next, transfer the buds to airtight glass jars for curing. During the curing, open the jars daily to release any trapped moisture and allow the buds to breathe. This ventilation helps prevent mold growth and ensures a smooth, flavorful smoke.
Curing is a crucial step in the post-harvest process, allowing the buds to develop their full flavor and aroma profile while preserving potency. Be patient, and let the buds cure for 2-4 weeks, periodically checking their moisture levels and aroma. Properly cured buds will have a rich, complex scent and smooth, enjoyable smoke, providing a satisfying cannabis experience.
By following these steps for harvesting and curing your cannabis buds, you’ll ensure the highest quality end product with optimal flavor, potency, and overall enjoyment. Take your time, pay attention to detail, and savor the fruits of your labor as you indulge in your homegrown cannabis harvest.
Congratulations on completing your journey into DIY cannabis cultivation! From selecting seeds to harvesting and curing buds, you’ve mastered the essential steps to grow cannabis at home. Throughout this process, you’ve nurtured healthy plants, provided optimal conditions, and embraced the challenges. Whether you’re a novice or an experienced grower, each stage has offered opportunities for learning and growth. As you savor the flavors and effects of your homegrown harvest, may you find fulfillment in the art of cultivation and enjoy the rewards of your dedication. Happy growing, and may your cannabis journey continue to flourish with abundant growth and unforgettable experiences!